
TL;DR
Moving your rig into a closet or another room is the most effective way to reduce noise. Proper absorption, sealing, and ventilation are key for a tiny space to sound good and stay cool. Foam alone won’t solve everything — treat the room and the leaks first.
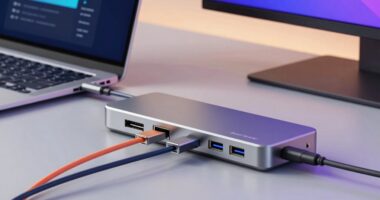
If your workspace sounds like a tin can or a roaring furnace, it’s time to rethink where your machine lives. The loudest noise often isn’t from your speakers or mic—it’s from the rig itself, echoing through tiny, reflective spaces. Moving your setup into a closet or a different room isn’t just about hiding the noise; it’s about dramatically improving your sound quality and comfort.
This guide reveals how proper placement, smart treatment, and ventilation turn a cramped closet into a professional-grade studio. You’ll learn the most effective strategies—because in the game of sound, distance and sealing beat foam and filters every time.
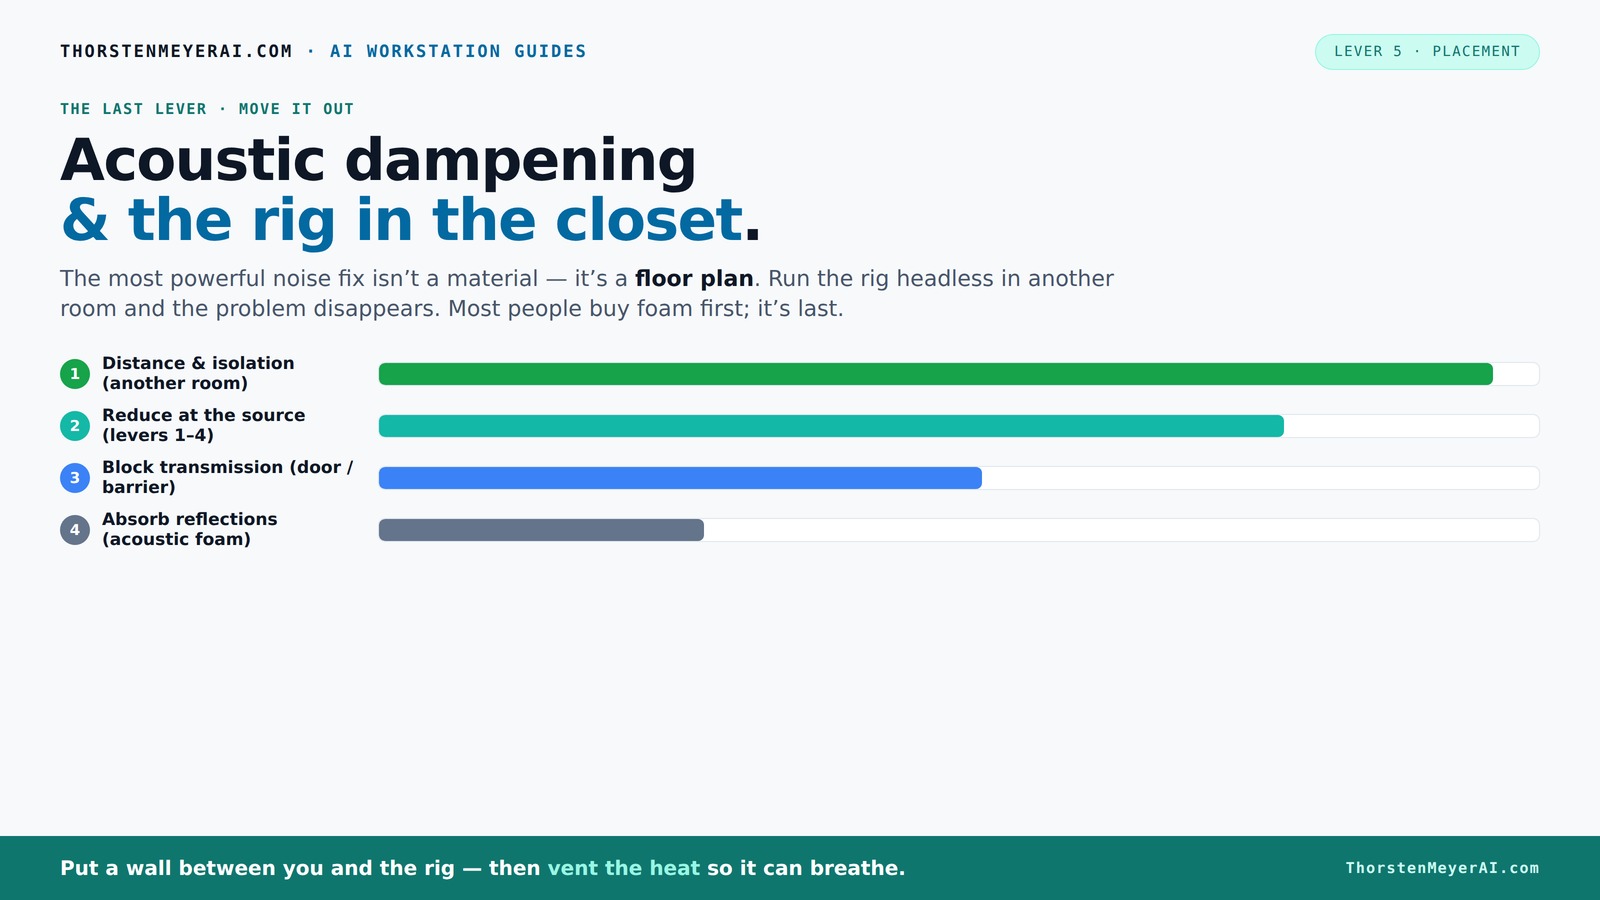
Acoustic dampening
& the rig in the closet.
The most powerful noise fix isn’t a material — it’s a floor plan. A rig you can’t hear because it’s in another room beats any amount of foam. Tap the approaches in Part 1 to see what actually works.
(another room)
(levers 1–4)
(door / barrier)
(acoustic foam)
Contain the noise, not the heat
Key Takeaways
- Distance and isolation are the most effective noise reduction tools—move your rig into a different room or closet.
- Cover entire walls with broad absorption materials—foam, blankets, rugs—to cut reverb in tiny spaces.
- Seal gaps around the door and crack open vents for ventilation—heat and noise go hand in hand.
- Treat reflection points and low-frequency buildup with strategic placement and bass traps.
- Foam alone isn’t enough. Combine absorption, sealing, and ventilation for a professional sound.
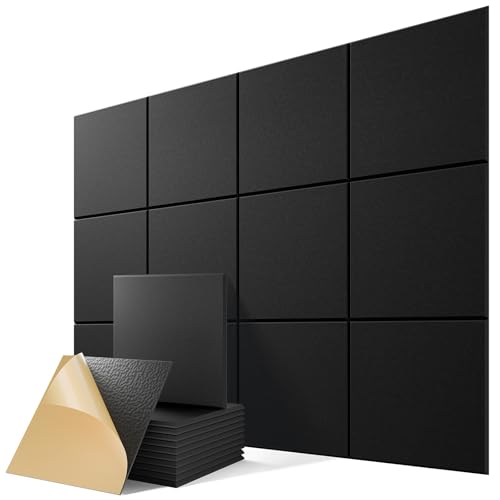
12 Pack Self-Adhesive Sound Proof Foam Panels for Walls 12"x12"x0.4" Fabric
Superior Noise Reduction & Echo Cancellation - Tired of background noise and poor acoustics? Our soundproof wall panels...
As an affiliate, we earn on qualifying purchases.
As an affiliate, we earn on qualifying purchases.
Why Moving the Rig Changes Everything (More than Foam)
When you shift your computer or audio gear into a closet or separate room, you cut down the noise that reaches your ears—by a lot. Distance is the most powerful tool in soundproofing. Think of it like a loudspeaker: the farther away, the quieter it sounds.
In practice, you might keep your server in a basement, or your AI rig in a closet on the other side of the house. This simple move can reduce perceived noise by 80% or more, according to experts [2]. Plus, your workspace stays silent, letting you focus without distraction. Remember, your setup doesn’t have to sit right next to you to be effective. Learn more about acoustic treatment.

Focusound 52 Pack Acoustic Foam Panels 1" x 12" x 12" Sound Proof Foam Panles Soundproofing Noise Cancelling Wedge Panels for Home Office Recoding Studio with 300PCS Double-Side Adhesive
Soundproofing - Acoustic foam panels triangular grooves structure for better noise absorption, helps to reduce and absorb unwanted...
As an affiliate, we earn on qualifying purchases.
As an affiliate, we earn on qualifying purchases.
The 'Rig in the Closet' Setup — How to Do It Right
Placing a noisy, heat-generating machine inside a closet is a smart move, but only if you give it room to breathe. Otherwise, heat builds up, fans roar, and your rig throttles itself—defeating the purpose.
To do it right, install proper ventilation: a passive vent or a quiet exhaust fan. You can even combine this with a custom soundproof cabinet that uses acoustic foam and ducted airflow [2]. Keep in mind, sealed spaces trap heat, so temperature control is essential—think of a small, well-ventilated closet that acts like a mini data center.
Choosing the right ventilation setup involves balancing noise reduction with adequate airflow. For example, ducted fans that vent outside can significantly lower noise levels while maintaining cooling. Also, consider the tradeoff: more airtight enclosures improve sound isolation but require better ventilation solutions to prevent overheating. This balance is crucial to ensure your rig remains cool and quiet without sacrificing performance.

Dmsky Microphone Isolation Shield with Pop Filter & Tripod Stand, Foldable Mic Shield with Triple Sound Insulation, High Density Mic Sound Shield for Recording Studio, Podcasts, Singing, Broadcasting
【Excellent noise reduction】Triple Sound Insulation,foldable Microphone Isolation with reflective layer+filter layer+absorbing layer.the high-density acoustic foam that eliminates audio...
As an affiliate, we earn on qualifying purchases.
As an affiliate, we earn on qualifying purchases.
Acoustic Treatment in Small Spaces: Cover More Than You Think
In tiny closets, foam alone won’t cut the echo. Covering entire walls with broad, soft materials like acoustic panels, blankets, and rugs makes a huge difference. Think of it as wrapping the space in a soft blanket—reverb and reflections drop drastically.
For example, a small closet with 80% wall coverage—using foam panels, thick blankets, and even a rug on the floor—can cut reverb by up to 50%. This is especially true when you treat the first reflection points—the wall behind the mic and nearby surfaces.
Maximizing coverage is key because reflections bounce between untreated surfaces, creating a muddy, boxy sound. The tradeoff is that covering more surface area can reduce room liveliness but at the expense of making the space sound dead or unnatural if overdone. The goal is to strike a balance—enough coverage to tame reflections without overly deadening the sound, which can make vocals and instruments sound unnatural or muffled.

VEVOR Portable Vocal Booth, 6.56 ft Height, Portable Recording Studio with Travel Bag, Mobile Tablet Stand, Thickened Soundproofing, Sound Isolation Booth for Echo-Free Vocals, Podcasts, Voiceovers
Say Goodbye to Echoes: Built with durable Oxford cloth and acoustic padding, this recording booth for the home...
As an affiliate, we earn on qualifying purchases.
As an affiliate, we earn on qualifying purchases.
Where to Place Acoustic Treatment for Best Results
Positioning matters more than most realize. Start with the reflection points: the wall behind your microphone and the ceiling above. Use a mirror or a reflection tool to find these spots, then hang your acoustic panels or blankets there.
Hard surfaces like shelves, desks, and the ceiling can reflect sound back into the mic, creating a boxy, boomy tone. Covering or softening these surfaces reduces unwanted reflections. A practical example: placing foam panels on the ceiling and behind the mic can improve clarity in a tiny booth.
It’s important to understand that improper placement can lead to persistent echo or boomy sound, which can be difficult to correct later. Properly positioned acoustic treatment helps control early reflections and standing waves, resulting in a clearer, more natural sound. The tradeoff is that too many treatments in the wrong spots can deaden the space excessively, so strategic placement is essential for balanced acoustics.
Sealing the Door & Gaps — Stop Sound Leaks in Tiny Rooms
The door is usually the biggest weak point for sound leaks. Gaps around the edges let in and out a surprising amount of noise. Seal these gaps with weatherstripping, acoustic sealant, or even a heavy blanket over the door.
For example, adding weatherstripping around a closet door can cut noise leakage by 30-50%. It’s a quick, low-cost fix that makes a noticeable difference—especially when combined with other treatments.
Sealing gaps not only reduces noise leakage but also improves the overall acoustic environment by preventing external sounds from entering and internal sounds from escaping. This creates a more controlled and consistent soundscape, which is especially important in small, reflective spaces. The tradeoff of sealing is that it can make the space feel more enclosed or claustrophobic, so it’s about balancing sound isolation with comfort.
Handling Low-Frequency Buildup in Small Closets
Small rooms often develop nasty bass issues—standing waves and low-end boom. These are caused by parallel walls reflecting low frequencies back and forth, intensifying bass buildup. Learn more about studio equipment.
Adding bass traps—thick, dense panels placed in corners—can tame these frequencies. For instance, a 2- or 3-inch thick bass trap placed in the corner behind your mic can reduce low-end resonance by up to 40% [3].
Understanding the nature of bass buildup helps you target the problem areas effectively. For example, if certain spots in your closet amplify bass, placing traps there will be more effective than general coverage. The tradeoff involves the space taken up by traps and the potential for over-damping, which can make the sound too dull or lifeless if overdone. Strategic placement and moderation are key to maintaining a natural, balanced low end.
DIY vs. Professional Acoustic Treatment — What's Worth It?
Building a cozy closet studio doesn’t mean you need to break the bank. DIY solutions like moving blankets, foam panels, and rugs are highly effective if applied correctly. Cover large surface areas for maximum absorption, especially at reflection points.
For serious bass control or soundproofing, consider professional panels or custom-built acoustic treatments. These often include bass traps, diffusers, and sealed enclosures, which cost more but dramatically improve sound quality and isolation [2].
Understanding the tradeoffs helps you decide: DIY treatments are more affordable and flexible but may lack the precision or durability of professional options. Professional treatments often come with a higher initial investment but can offer more consistent, long-term results, especially for low-frequency control and soundproofing. The key is matching your goals and budget with the right approach.
What Not to Expect from Foam Alone
Foam panels are great for controlling echo and reflections but don't block sound transmission. Relying solely on foam won’t stop noise from leaking outside or reduce low-frequency resonance.
For example, a foam-filled closet will cut reverb but won’t prevent your neighbors from hearing the noise. Combining foam with sealing, mass, and decoupling techniques is key.
It’s important to recognize the limitations of foam: while it improves internal acoustics, it doesn’t provide significant soundproofing. If your goal is to isolate sound from the outside world or your neighbors, foam alone won’t suffice. You’ll need additional measures like mass loading, sealing, and structural decoupling to achieve meaningful soundproofing.
Sample Closet Studio Layout — Visualize Your Setup
Imagine a small closet with a microphone mounted on a boom arm, a soft carpet on the floor, foam panels covering 70% of the walls, and a sealed, ventilated door. The computer sits on a desk with soft padding underneath.
This setup minimizes reflections, prevents sound leaks, and keeps heat in check. It’s a practical, affordable way to get studio-quality recordings in a tiny space.
Troubleshooting: Why Your Vocals Sound Boxy or Boomy
If your recordings sound hollow or boomy, the most likely cause is reflection or bass buildup. Check the placement of your mic and treatment. Moving the mic away from reflective surfaces and adding bass traps can fix this.
Use a mirror or a smartphone app to find reflection points and treat those spots. Also, consider adding a thick blanket or acoustic panel behind the mic to absorb early reflections.
Understanding the cause of boxiness or boominess involves analyzing your room’s acoustic response — listening critically, and then adjusting your placement and treatment accordingly. Sometimes, small changes in mic position or adding targeted bass traps can make a big difference in achieving a balanced, natural sound. The tradeoff is that over-treating can dull the sound, so aim for a natural, controlled acoustic environment.
Frequently Asked Questions
What’s the main difference between acoustic treatment and soundproofing?
Acoustic treatment improves the sound inside the room by reducing echoes and reflections. Soundproofing, on the other hand, stops sound from leaking out—think of it as sealing the room from the outside world. Both matter, but for small closets, sealing leaks and broad absorption make the biggest difference.
How much acoustic foam do I need for a closet studio?
More coverage is better. Aim for covering about 70-80% of the walls, especially the reflection points behind the mic and on the ceiling. Don’t just patch a few spots—full wall coverage makes a noticeable difference in clarity and tone.
Where should I place acoustic panels in a closet studio?
Start with the reflection points—use a mirror or smartphone to find where sound bounces back. Place panels behind the mic, on the ceiling, and on the side walls where reflections are strongest. Covering these spots reduces echo and improves vocal clarity.
Do I need bass traps in a small closet?
Yes, especially if you notice a boomy or muddy low end. Placing thick bass traps in the corners can tame standing waves and low-frequency buildup, making your recordings tighter and clearer.
How can I prevent sound from leaking through the door?
Seal gaps with weatherstripping or acoustic sealant. Hang a heavy blanket or acoustic panel over the door if needed. These simple fixes can cut sound leaks by up to 50%, making your space much quieter.
Conclusion
Transforming a tiny closet into a decent recording or AI workstation isn’t about fancy gear—it's about smart placement, broad coverage, and good sealing. Your rig can roar all it wants in a closet, as long as you keep the noise where it belongs.
Remember, the most powerful tool is distance. If you prioritize that, a little foam and sealing will do the rest. Your workspace, and your ears, will thank you.