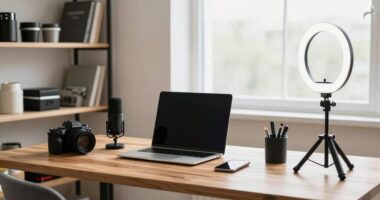
Most people overlook how room acoustics, microphone placement, and noise control impact your home recordings. Even small changes, like adding soft furniture or positioning your mic correctly, can make a big difference. Soundproofing doesn’t mean expensive gear—DIY solutions work well too. Plus, proper editing can clean up your audio further. If you keep these tips in mind, you’ll be surprised how professional your recordings can sound—there’s more to discover along the way.

Get the latest gadgets delivered free with Prime
- Fast, free delivery on millions of items
- Prime Video, Amazon Music and more included
- Member-only deals all year
Key Takeaways
- Proper microphone placement and consistent technique are crucial to capturing clear, professional sound at home.
- Acoustic treatment and noise control often require DIY solutions beyond just buying equipment.
- Room shape, size, and furnishings significantly impact sound quality and should be optimized before recording.
- Investing in high-quality gear is less important than understanding your environment and mastering recording techniques.
- Post-production editing and noise reduction are essential for achieving clean, polished audio.
As an affiliate, we earn on qualifying purchases.
Why Room Acoustics Are Crucial for Home Recording
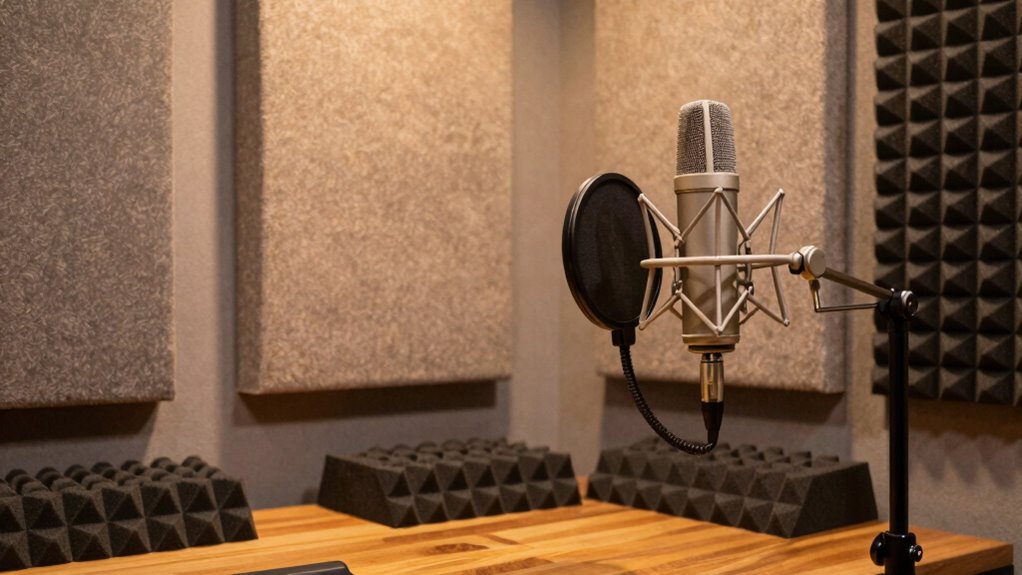
Good room acoustics are essential because they directly impact the clarity and quality of your recordings. The room shape plays a significant role; irregular or oddly shaped spaces can cause sound reflections and echoes that muddy your audio. Rectangular rooms with parallel walls often produce standing waves, leading to uneven sound. Proper furniture placement helps absorb or diffuse sound waves, preventing unwanted reflections. Strategically positioning furniture like bookshelves, rugs, and soft furnishings can tame harsh echoes and improve sound quality. Avoid placing your recording setup against bare walls or in corners, as these areas tend to amplify reflections. By paying attention to room shape and furniture placement, you create an environment that naturally enhances your recordings, making it easier to capture clean, professional-sounding audio at home. Additionally, understanding room acoustics can help you optimize your space even further for better sound quality.
As an affiliate, we earn on qualifying purchases.
Choosing the Right Microphone for Your Home Studio
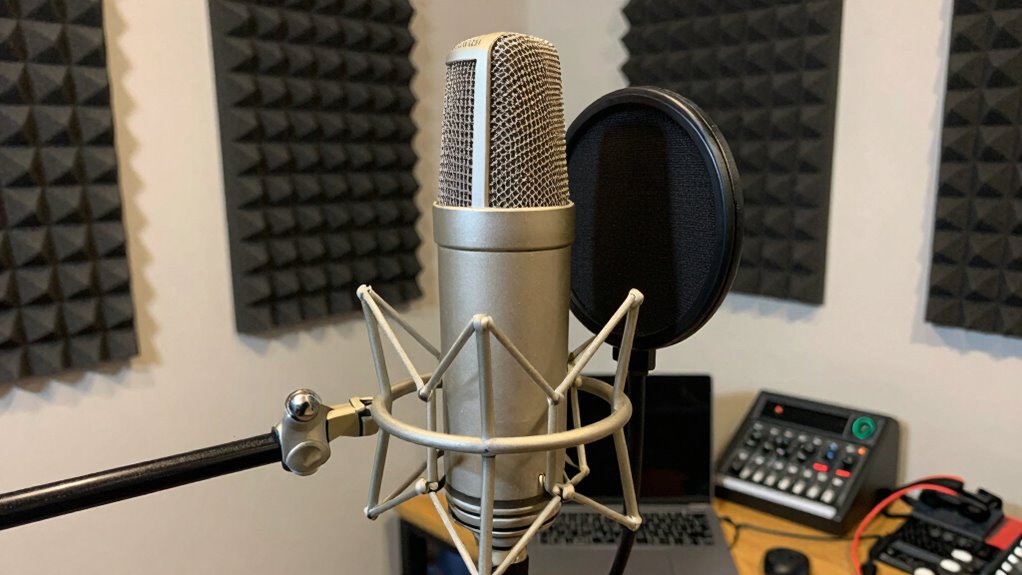
Choosing the right microphone depends on what you plan to record and your budget. Different types, like condensers or dynamics, serve various purposes and environments. Keep your room’s acoustics in mind, as they can influence how well your microphone captures clean audio. Additionally, home environment considerations can significantly impact the overall sound quality of your recordings. Proper placement and understanding room acoustics are also crucial for achieving professional-quality sound in your home studio. Just as understanding nail biology helps inform better nail care, knowing how your environment affects sound can help you optimize your recording setup. Being aware of soundproofing techniques can further enhance your recording quality by reducing unwanted background noise, especially in spaces where projector placement and room layout also play a role in optimizing audio capture.
Microphone Types and Uses
Selecting the right microphone for your home studio depends on understanding the different types available and their specific uses. Dynamic microphones are durable and ideal for handling high sound pressure levels, making them perfect for vocals and loud instruments. Condenser microphones offer greater sensitivity and detail, which is essential for capturing vocals and acoustic instruments in a controlled environment. Ribbon microphones provide warm, natural tones but are more fragile, so consider their durability if you need a sturdy option. Additionally, wireless connectivity is increasingly common, allowing flexibility in your setup without sacrificing sound quality. Choosing the right microphone involves balancing durability, sound characteristics, and connectivity options to suit your recording needs and environment. Considering the ethics in consumer technology, it’s also important to evaluate the longevity and environmental impact of your equipment choices.
Budget Considerations
When you’re working within a budget, it’s important to find a microphone that balances cost with your recording needs. Good budget planning helps you avoid overspending on equipment that doesn’t improve your sound quality. Instead of jumping for the most expensive mic, focus on what suits your voice and environment. Affordable options like large-diaphragm condenser microphones or versatile dynamic mics can deliver professional results without breaking the bank. Remember, equipment investment doesn’t always mean buying the priciest gear; it’s about choosing the right tool for your goals. Prioritize quality within your budget, and consider future upgrades as your skills grow. Knowing store return policies and hours can help you make informed purchases and avoid unnecessary hassle if you need to exchange or return equipment. Making thoughtful decisions now guarantees you get the best possible sound without sacrificing your financial stability.
Room Acoustics Impact
Have you ever noticed how the sound quality in your recordings varies depending on your room’s acoustics? Your room dimensions and furniture placement play a vital role in shaping your audio. Smaller rooms can create echoes or unwanted reverb, while larger spaces might absorb sound unevenly. Furniture, rugs, and curtains help control reflections, preventing harsh echoes and improving clarity. Positioning your microphone away from reflective surfaces reduces unwanted noise and room tone. Experiment with furniture placement to minimize sound bouncing off walls or furniture. A well-thought-out setup improves your microphone’s effectiveness, capturing cleaner audio. Recognizing how room size and layout influence acoustics allows you to choose the right microphone and optimize your home studio for professional-quality recordings. To achieve optimal sound, consider incorporating cable management solutions to reduce clutter and potential interference that can affect audio clarity.
As an affiliate, we earn on qualifying purchases.
How to Position Your Microphone for Clear, Professional Sound
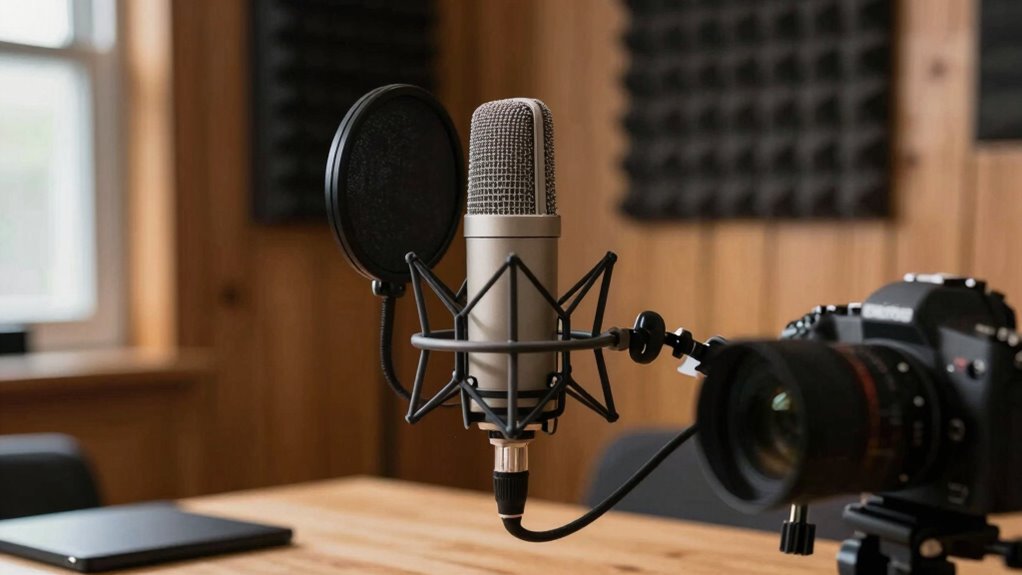
To get the clearest, most professional sound, you need to focus on ideal microphone placement and maintain the right distance from your source. Proper positioning helps reduce unwanted noise and captures your voice or instrument accurately. Additionally, using acoustic treatments can minimize reflections and improve overall sound quality. Being aware of your environment’s sound reflections can further enhance the clarity of your recordings. Recognizing the importance of sound reflection control can help you create a more balanced and natural sound environment.
Optimal Microphone Placement
Proper microphone placement is essential for capturing clear, professional audio at home. To achieve this, start with proper microphone calibration, ensuring your input levels aren’t too high or low. This prevents distortion and unwanted noise. Position your microphone slightly above or directly in front of your mouth, aiming it towards your sound source. Use a pop filter selection that suits your microphone type to minimize plosive sounds without compromising sound quality. Keep the microphone stable and avoid placing it too close to reflective surfaces that can cause unwanted echoes or reverb. Experiment with angles and distances to find the sweet spot where your voice sounds natural and crisp. Consistent placement and calibration will help you record cleaner, more professional audio every time.
Maintain Proper Distance
Maintaining the correct distance between you and your microphone is essential for capturing clear, natural sound. The right proximity depends on your microphone’s sensitivity and your recording environment. Too close, and you risk clipping and excessive breath sounds; too far, and your audio may sound distant and dull. Generally, aim for 6-12 inches, adjusting based on your mic’s specs. Use the table below to guide your positioning:
| Microphone Sensitivity | Recording Environment | Recommended Distance |
|---|---|---|
| High | Quiet, controlled | 6-8 inches |
| High | Noisy, untreated | 8-12 inches |
| Low | Quiet, controlled | 8-12 inches |
| Low | Noisy, untreated | 12 inches or more |
Proper distance optimizes clarity and reduces unwanted noise. Maintaining optimal microphone placement is also crucial for achieving professional-quality recordings. Additionally, understanding microphone sensitivity helps determine the best distance for your setup. Being aware of your recording environment can significantly impact your sound quality and should influence your microphone positioning strategy. Recognizing room acoustics can further help in adjusting your placement for the best results.
Use Acoustic Treatments
Using acoustic treatments effectively can considerably improve your recording quality by controlling sound reflections and minimizing unwanted noise. Start with soundproofing essentials like sealing gaps and adding bass traps to reduce low-frequency rumble. Proper acoustic panel placement is essential; position panels at reflection points where sound bounces off walls and ceilings to absorb excess reverberation. Use a mirror to find these points easily. This setup helps create a balanced, clear sound environment, making your recordings more professional. Don’t forget to experiment with panel placement to find the most effective spots for your space. Regularly assess your audio quality and adjust acoustic treatments as needed. Properly implementing these techniques guarantees your microphone captures pure, clean sound, free from echo and background noise. Additionally, paying attention to the room environment can further enhance your audio clarity by addressing external factors like background noise or ambient sound. Understanding acoustic treatment principles can help you optimize your space even further.
professional condenser microphone
As an affiliate, we earn on qualifying purchases.
As an affiliate, we earn on qualifying purchases.
Managing Background Noise and Echo in Your Recordings
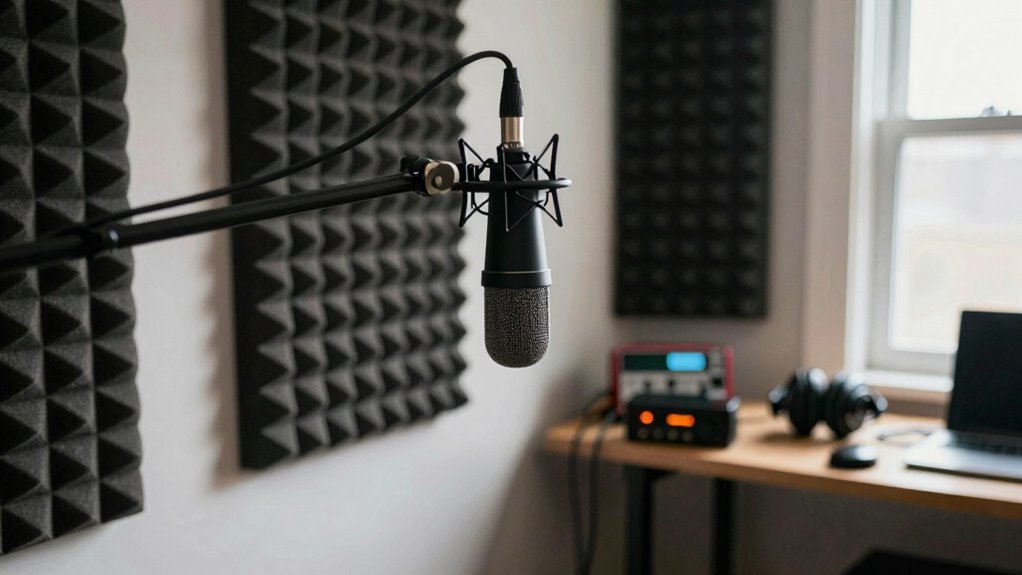
Background noise and echo can considerably diminish your recording quality, but there are straightforward ways to reduce their impact. Start by using noise cancellation tools during editing to minimize background sounds like fans or traffic. For real-time reduction, consider investing in a microphone with built-in noise cancellation features. Echo can be tricky, but echo reduction techniques like positioning your microphone closer to your voice help minimize reflections. Using soft materials, such as blankets or foam panels, around your recording space can also dampen sound waves and reduce echo. Additionally, record in smaller, enclosed spaces to limit sound bouncing off walls. Proper room acoustics play a crucial role in controlling echo, so optimizing your environment can significantly improve your audio quality. Regularly monitoring your air quality considerations can also improve your environment for recording, as cleaner air reduces the chances of unwanted background noise. Incorporating soundproofing techniques can further enhance your recording space by reducing external noise infiltration, resulting in clearer audio. Improving fabric technology and utilizing sound-absorbing textile materials can also contribute to better acoustic treatment within your space. Combining these methods ensures cleaner audio, making your recordings sound more professional and polished without needing expensive soundproofing.
Affordable Soundproofing and Acoustic Treatments for Beginners
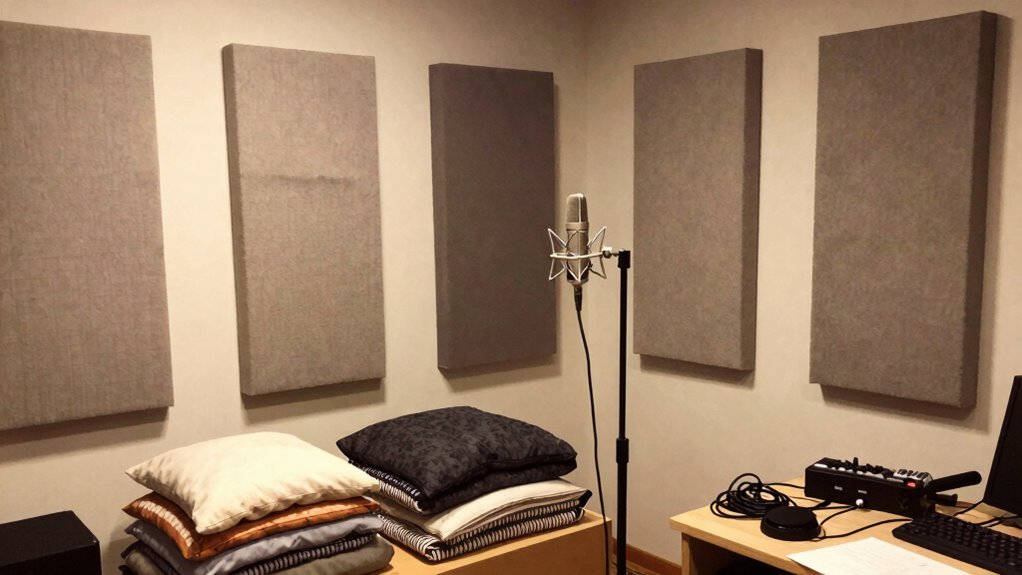
If you’re just starting out with home recording, affordable soundproofing and acoustic treatments can make a significant difference without breaking the bank. DIY soundproofing options are a great way to improve your space on a budget. You can start with simple solutions like sealing gaps around doors and windows with weather stripping or heavy curtains to block noise. For acoustic treatment, an acoustic panel DIY project is easy and inexpensive; you can repurpose materials like foam or fabric-covered panels to absorb sound reflections. Placing these panels strategically in your room, such as behind your microphone or along parallel walls, helps reduce echo and improve clarity. Additionally, exploring support breakfast options like cozy accommodations with peaceful gardens can inspire a relaxed mindset for your recording sessions. These affordable, DIY solutions allow you to optimize your recording environment without costly professional installations. Incorporating soundproofing techniques used in professional studios can further enhance your setup and create a more controlled audio environment. Understanding the importance of room acoustics can help you make more informed decisions when arranging your space.
Editing and Cleaning Up Your Audio in Post-Production
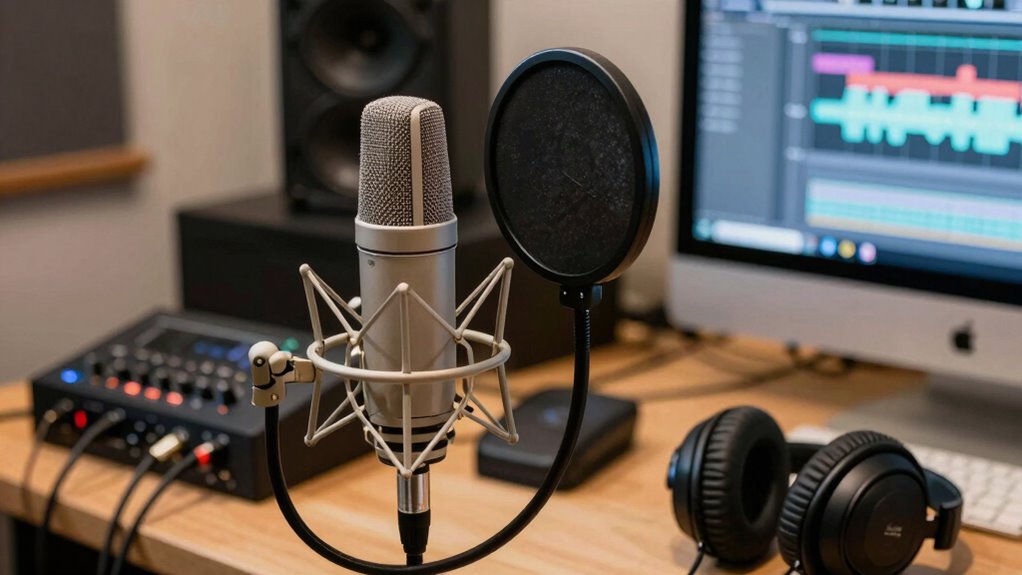
Once you’ve recorded your audio, the real work begins in editing and cleaning it up to guarantee clarity and professionalism. Effective audio editing involves removing distractions, balancing levels, and enhancing sound quality. Noise reduction is key—use software tools to eliminate background hums, hisses, or static that can distract listeners. Keep these tips in mind:
After recording, editing ensures clarity and professionalism by removing distractions and enhancing sound quality.
- Use noise reduction plugins to target unwanted sounds
- Cut out long pauses or background noise
- Adjust volume levels for consistency
- Apply equalization to improve tone
- Export in high-quality formats for the best sound
This process transforms your raw recordings into polished audio, making your content sound professional and engaging. Proper editing ensures your message gets across clearly, without background noise or distractions.
Common Mistakes That Hurt Your Home Recording Quality

Even after editing and cleaning your audio, mistakes made during recording can still compromise your home recordings’ quality. One common error is neglecting microphone durability; using a fragile mic can lead to inconsistent sound or damage, affecting clarity. Poor microphone placement also causes unwanted noise or muffled audio. Additionally, ignoring recording software compatibility can create issues, such as incompatible formats or lag, which hinder your workflow. Failing to test equipment beforehand may result in unexpected problems during sessions. Not using a pop filter or proper acoustic treatment can introduce plosives and background noise. These mistakes reduce overall audio fidelity, making your final product sound unprofessional. Being mindful of your gear’s durability, placement, and software compatibility helps guarantee consistent, high-quality recordings at home.
Frequently Asked Questions
How Do I Prevent Microphone Plosives Without Expensive Pop Filters?
You can prevent microphone plosives without expensive pop filters by using DIY foam solutions or pop filter alternatives. Place a thick, folded piece of foam or a nylon stocking stretched over a frame in front of your mic. These DIY options work well to diffuse air bursts from plosive sounds. Make certain the material is close enough to your mouth but not touching the mic, so you get clear audio without unwanted pops.
What Are the Best DIY Methods for Acoustic Treatment on a Budget?
You can improve your room acoustics with DIY bass traps and homemade foam panels. Build bass traps using dense materials like mineral wool or old mattresses stuffed into cardboard or wooden frames, placing them in corners to absorb low frequencies. For mid and high frequencies, craft simple foam panels from inexpensive foam or even egg cartons placed strategically around your space. These budget-friendly solutions considerably enhance sound clarity without breaking the bank.
How Can I Improve Audio Quality Without Professional Recording Equipment?
You can improve audio quality by optimizing room acoustics and microphone placement. Use soft materials like blankets or cushions to reduce echo and sound reflections. Position your microphone close to your voice, slightly off-axis, to capture clearer sound and minimize background noise. Experiment with different angles and distances—finding the sweet spot helps. These small adjustments make a big difference, even with basic gear, resulting in cleaner, more professional audio.
Is It Necessary to Use a Sound Interface for Recording at Home?
You don’t always need a sound interface for home recording, but it depends on your setup. Good microphone placement and controlling room acoustics can make a big difference in sound quality. If you’re using a basic mic and recording directly into your computer, a sound interface can improve clarity and reduce noise. Still, with careful placement and acoustic treatment, you can achieve surprisingly clean audio without extra gear.
How Do I Avoid Latency Issues During Home Recording Sessions?
To avoid latency issues during your home recording sessions, start by optimizing your room acoustics and minimizing background noise. Use acoustic panels or soft furnishings to reduce echo, and turn off any unnecessary devices that cause interference. Additionally, lower your buffer size in your audio interface settings to decrease latency. Regularly update your drivers and software to guarantee smooth performance, making your recordings clearer and more synchronized.
Conclusion
Mastering home recording means managing microphone placement, minimizing noise, and mastering post-production. With mindful modifications and meticulous attention to acoustics, you’ll make your music shine. Don’t let the details slip — seize the sound, solve the space, and sharpen your skills. When you focus on fundamentals and finesse, your recordings will flourish, transforming your humble home into a hub of high-quality harmony. Keep learning, keep listening, and let your sound truly succeed.
Halloween Picks
halloween
As an affiliate, we earn on qualifying purchases.